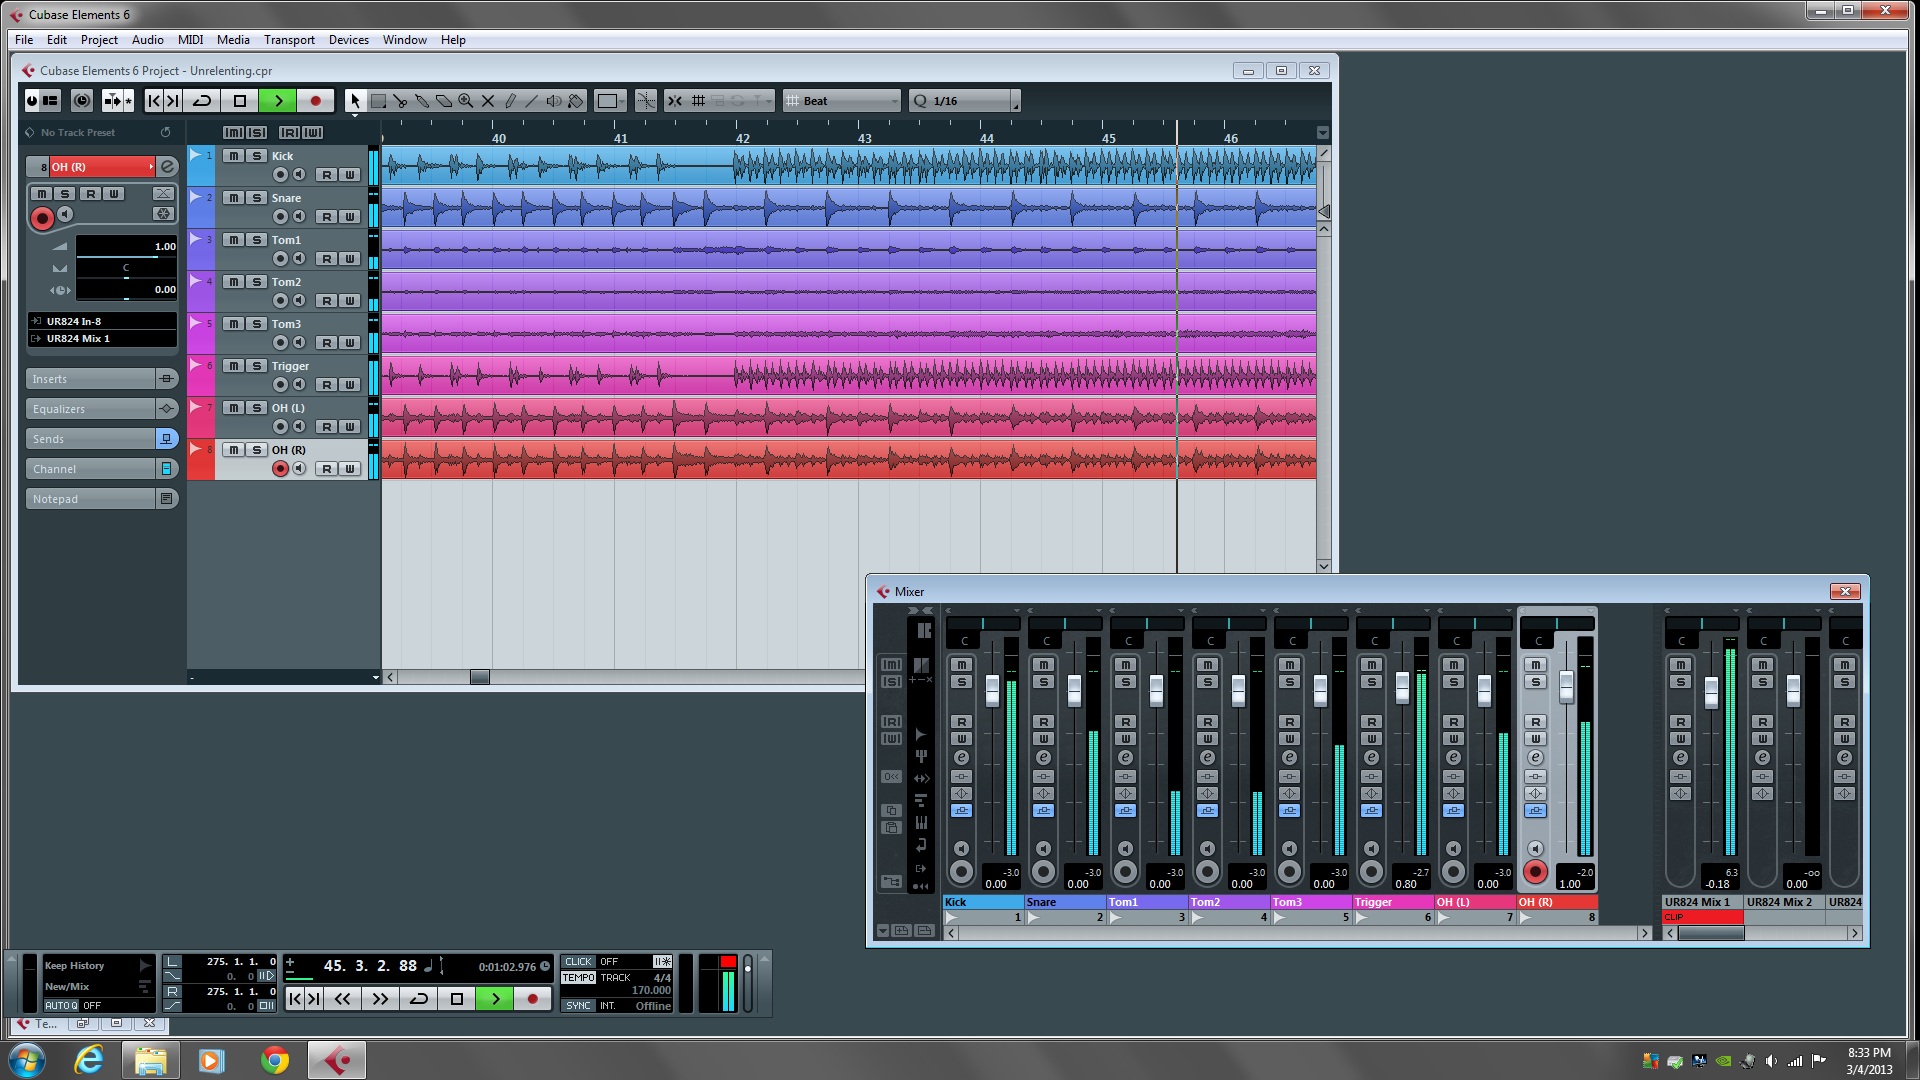
Okay, so I’ve started laying down drum tracks for my band’s demo. If you look at the picture that I’ve attached, you can see the relative levels in the mix as well as the output level. Nothing sounds distorted at all, everything sounds pretty clear, but when I listen to the full mix, the red clipping indicator appears beneath the output slider. The guy who is helping me record set the levels and it sounded pretty good in his studio. I’m listening back to it over headphones, and everything still sounds pretty clear, though I think the toms are slightly clipped when I listen to them soloed.
One thing that I noticed is that if I solo any track, the red clipping indicator never comes on. If I listen to the full mix, the clipping indicator goes on whenever I hit any hard accent, like a strong bass drum or snare hit.
So it definitely seems like I need to lower my input levels. However, I don’t understand why the clipping light only goes on in the DAW when I listen to the full mix, and not when I solo out a certain channel, even one of the tom mics.
Also, I notice that there are two dbFS values assigned to each channel. One value changes when I move the sliders in Cubase; it is set at 0.00 at the moment. The other value is above the first one and in a slightly smaller font. These all say -3.0 or something close to it, although sometimes they seem to change in value at random times. Any idea what’s going on there?